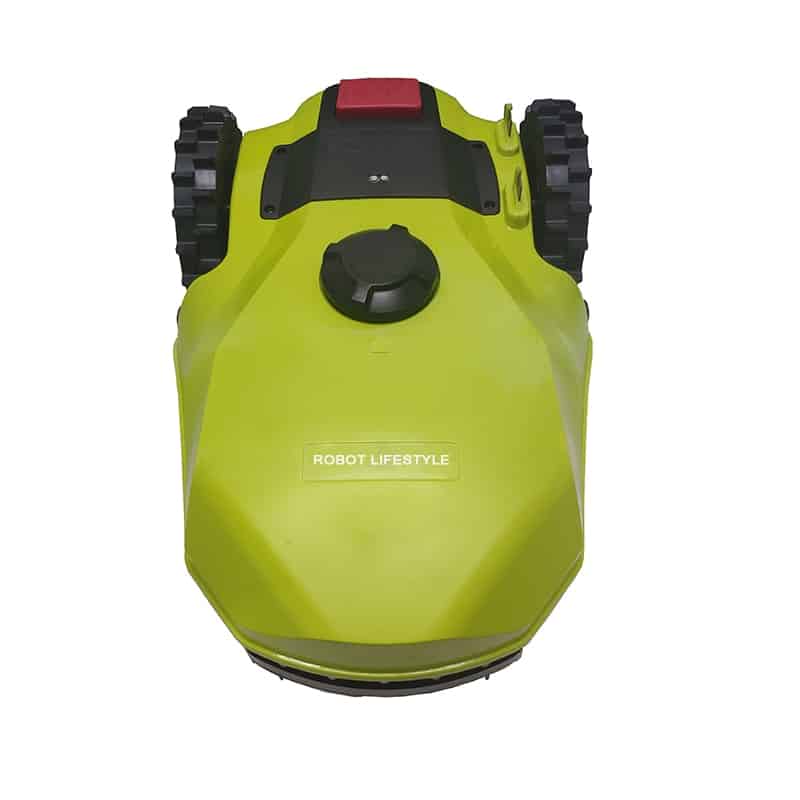
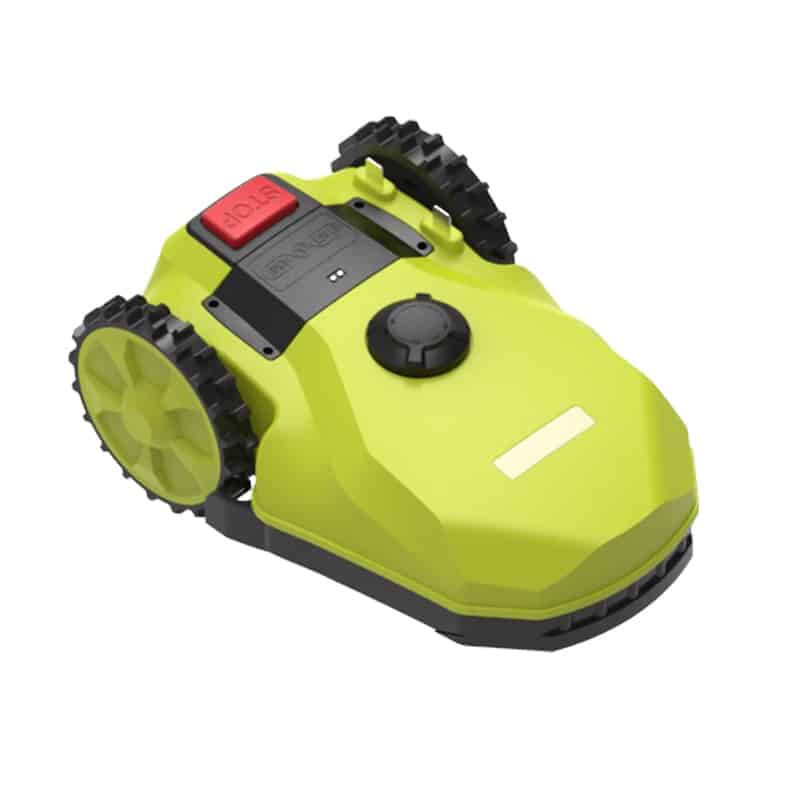
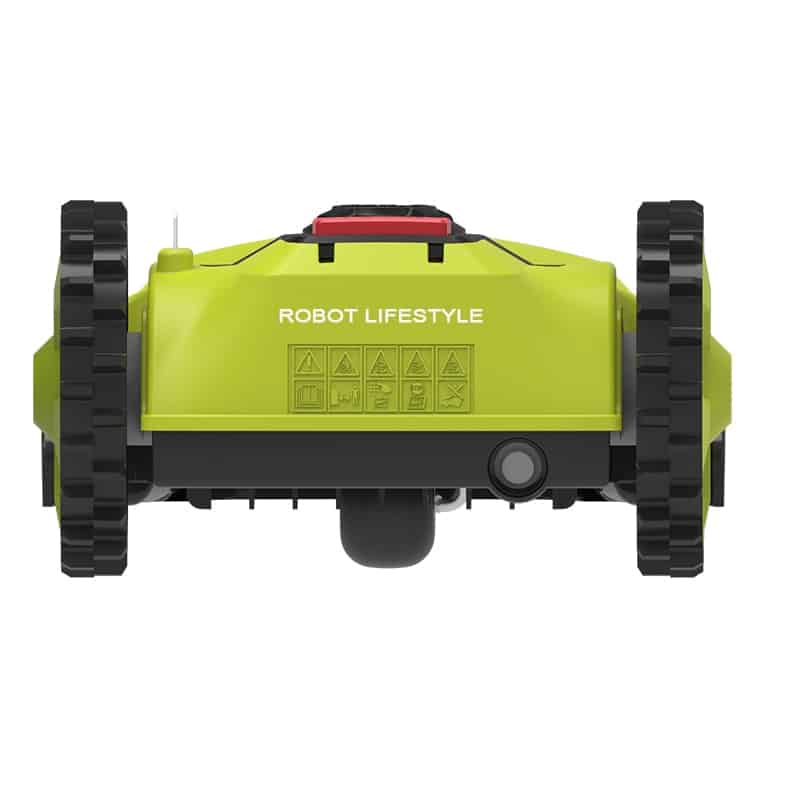
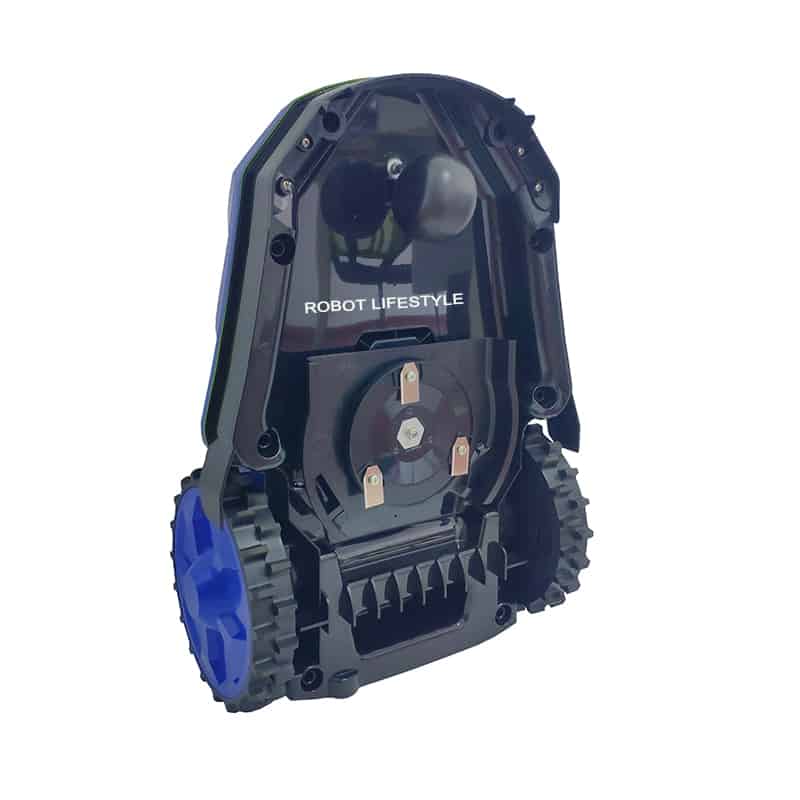
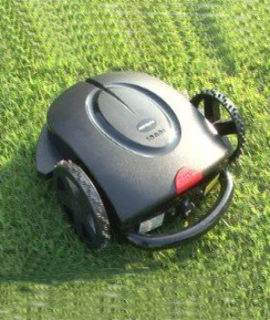
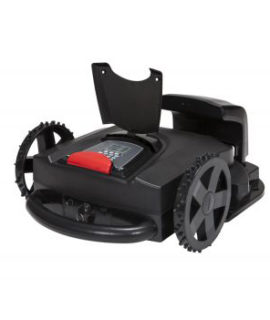
Smart Portable Lawn Mower Auto Robot Lawn Mower For 400-600m2, 2.2Ah Li-ion Battery, Bluetooth APP Control, Water proof IPX4, Brushless Motor
In stock
$819.93 $964.62
Smart Portable Lawn Mower Auto Robot Lawn Mower For 400-600m2, 2.2Ah Li-ion Battery, Bluetooth APP Control, Water proof IPX4, Brushless Motor


The character of the mower
*Input voltage: 110-230V, 50HZ
*Battery: 1pc 24V, 2.2Ah Li-ion battery
*Charging time 2A: 1.5hours
*Average working time per charge: 1 hours Average
*Cutting cover area per hour: 50㎡
*Maxiumum cutting cover area: 400-600m2
*Gradeability: ≤20°
*Cutting width: 16cm
*Cutting height: 2.5-5.5cm(height adjustment by Rotary knob)
*Noise: <73dB
*Cutting motor speed: 3000R/M
*Moving speed: 12 m/s
*Cutting motor type: brushless motor(1pcs)
*Driving motor type: brushless motor(2pcs)
*Water proof IPX4
Mower Robot’s Function parameter
*Evolvent mowing mode
*Random line mowing mode
*Falling sensor
*Lift sensor Tilt sensor
*Pressure sensor Rain sensor
*Bumping sensor
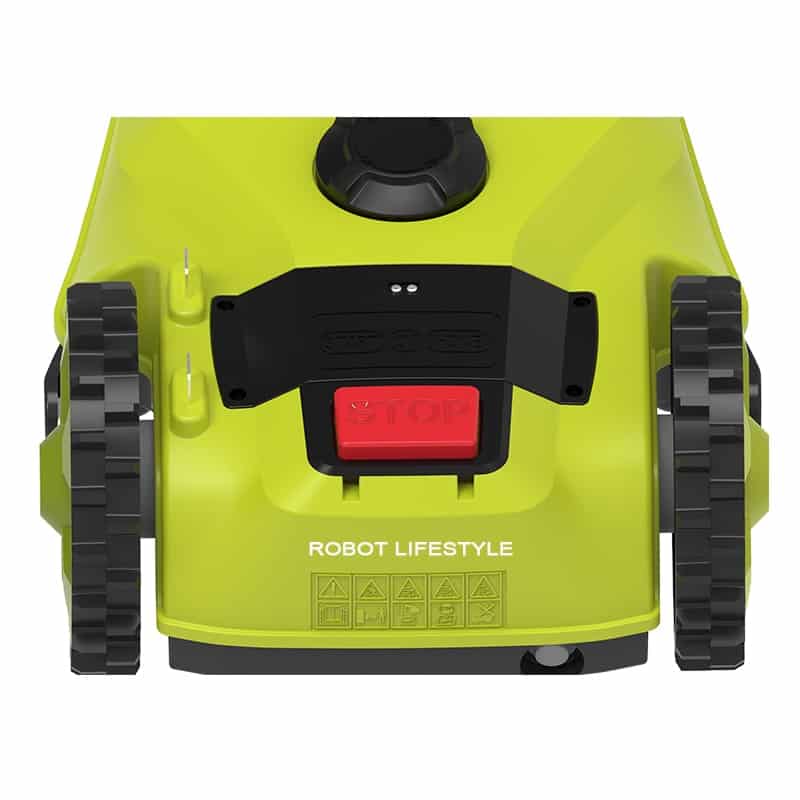
*Emergency stop switch
*Power failure auto-stop function
*Boundary line disconnect auto-stop function
*Automatically go back to charging station function
*Reservation function
*Self driving speed regulate function
*Anti-theft (start code) Sound alarm
Fuctions instruction
●Automatic mowing and crushing
Intelligent planning of automatic mowing, automatic mowing and crushing of grass.
●Automatic charging
When the machine is low in power, it will automatically return to the charging seat for charging.
●Automatic avoid-obstacle
When the machine encounters obstacles, it will automatically retreat or avoid obstacles to go around.
●Automatic shelter
When it rains, it can automatically navigate back to the charging seat (shelter from rain).
●Intelligent detection lawn
Automatic detection of the perimeter of the fence line around the lawn, intelligent planning automatic
adjustment of the mowing section work path and mode.
Safety:
●Fixed password lock (fixed password)
The host has set a fixed password to power up with a password to prevent the child or other people who do
not know the safe operation to boot.
●Tilt sensor system
The RL19A with a tilt sensor that automatically stops the alarm immediately when one side of the machine is lifted over angle of 45 .
●Lift sensor system
When the working RL19A is lifted off the ground by the artificial shell of the body, it will stopped
immediately and it will alarm automatically.
●Intelligent safety protection system
When abnormal conditions or motor overload occur in the work, automatic shutdown protection
immediately.
●Anti-collision sensor system
When the RL19A mowing grass encountered fixed obstacles or other resistance, the automatic obstacle
avoidance system starts, the machine automatically retreats, adjusts the walking direction, avoids obstacles
and resistance.
●Emergency stop system
In case of a sudden situation, press the emergency stop key ,it will stop the work immediately.
●Electric quantity monitoring system
Power monitoring system, battery power low return charging and full exit charging seat contact
plate to prevent battery overcharge and discharge.
●Navigation fence control system
Circle the work area and make sure the machine works in the fence area.
Important Safety Warning:
●Do not let children or others who do not understand the safe operation of the machine to operate.
●If the safety equipment is damaged and the safety performance is invalid, do not operate the lawn mower.
●Do not operate lawnmower on slopes with slopes greater than 30%.
●Please check and clean all debris in the mowing area before the machine is in operation.
●Do not lift the blade while the machine is in operation; wear protective gloves when repairing the blade.
●When installing navigation fence line staples, wear eye protection tools and gloves.
●The Robotical lawn mower shall only be used by batteries, chargers and other accessories provided or
recommended by the manufacturer.
●Do not remove and modify the battery, do not use strong impact, heating, burning the battery.
●Follow the power type and electrical parameters indicated on the charger.
●Do not use a charger in a damp-prone environment; do not use a damaged charger.
●Do not open the power-on charging station or try to connect the positive and negative charging electrodes
directly with the conductor to prevent electric shock and short-circuit accidents.
●Do not contact the charger and plug with a wet hand.
What’s in the box?

Installation of Charging Station:
Install the charging station
*The location of charging station must be even, firm and convenient to use the power source.
There must be no obstacles or corners within 2 meters in front. First fix the front part of the fence wire
under the charging station. And fix the charging station with pegs. The charging stand faces the lawn
[inside the fence],and keep it clean.
Warning: Cannot install charging station on slope (as shown picture)
*Pull one end of the fence wire out and place it on the lawn floor where the charging station is installed for
use. After the charging station is installed, fix it on it with the fence pegs.
* Leave about 10 centimeters of wire for use at the end of the charging station card slot against the vertical
wall (and peel the wire tip), aim the fence wire at the base card slot above the charging station plate and clip the
line


Installation of Fence Wire:
*On the right side in front of the charging station (directly opposite to the left side of the operator in front of
the charging station, the left side of the figure above), at least A vertical distance of more than 2 meters should be
installed to fence wire. This part of the navigation fence should maintain A straight line with the card slot line at
both ends of the charging station (see the figure A of above picture).
*From charging station on the right side (directly opposite charging on the left side of the positive operator,
above left), counterclockwise direction along the edge of the lawn inside to install fence wire, and fence wire from
the edge of the lawn not less than about 25 cm (charging except near the bridge, such as pictured here will be
subject to charge a card slot position distance)
* In the narrow area, the minimum effective distance between the two navigation fence lines is 1.5 meters
(see B below).
*When installation of navigation fence line encounters a turning Angle less than or equal to 90 degrees, it
can adjust each Angle to be greater than 90 degrees by making multiple turns with large angles (see C in the
picture above).
*When there are fixed facilities such as trees more than 5cm above the ground in the lawn, if the distance
between the fixed objects and the lawn is less than 1.5m, the fixed objects should be directly circled outside the
scope of the fence wire with the method of ring peninsula, and the distance between the ring fence wire and the
fixed objects should be no less than 35cm. If the distance between the fixed object and the surrounding lawn is
more than 1.5 meters, the loop island method is adopted to circle it outside the fence wire. The distance between
the loop navigation fence line and the fixed object is not less than 35 cm, and the spacing between the two leads is less than 1 cm.
* Areas with slopes greater than 30% of the slope should be enclosed outside the fence line
* For multi-area lawn, if the inter-area passage is level with the lawn, or the height difference is less than
3cm, and the inter-area passage is greater than 1.5m, the fence wire shall be installed in a single area. If the above
conditions are not met, the charging station and the fence wire shall be installed in different areas.
* Fix the adjusted fence wire with pegs one by one, so that the fence wire is close to the lawn with the terrain.
Pegs can be fixed every 2 meters or so, but the density of pegs should be adjusted appropriately according
to the terrain complexity (for example, add pen fixation in the low-lying area as shown in the figure).
* Install one circle of the fence wire and return back to the vertical wall of the cable slot stuck in the base of
the charging station. Leave about 10cm of the wire end (with the wire end peeled) for the connection of the
terminal post. The extra part must be cut off (as shown in the figure).
Clean up the lawn
*If the original grass grows longer than 10CM-14CM, weeds are too much, first with artificial finishing, cut
off the overlong part to remove the thick rod or vine weed.
*Level off the local areas with holes or potholes, first fill the earth, there is a clear raised level to prevent the
wheels down, or stuck unable to walk.
* Remove branches small stones iron wire and other debris; Reinforce and protect easily damaged lawn light,
spray and other lawn facilities.
Adaptive adjustment of machine
*The charging station shall first connect to the power supply, the green light on and flash the red light on the
charging station, then connect to the fence wire, and the green light shall turn on and the red light shall turn off,
then the charging station and the fence wire have worked normally.
!Warning: Before switching on the power, connect the output end plug of the charger to the
charging station, and then connect the input end plug of the charger to the power socket.
*Start the robotical lawn mower, it will walk a complete circle along the fence wire, you can readjust and
install the part of the fence wire that cannot pass smoothly. For example, place the lawnmower on the right side
of the charging station, then the lawnmower will jump over the charging contact fence and start up and start the
return trip operation.)
*Adjust the blades to the desired height of your lawn. Let the Robotical lawn mower standby
Based on 0 reviews
Be the first to review “Smart Portable Lawn Mower Auto Robot Lawn Mower For 400-600m2, 2.2Ah Li-ion Battery, Bluetooth APP Control, Water proof IPX4, Brushless Motor”
General Inquiries
There are no inquiries yet.






There are no reviews yet.