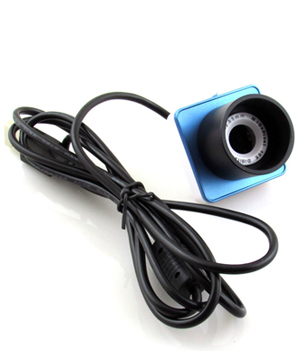
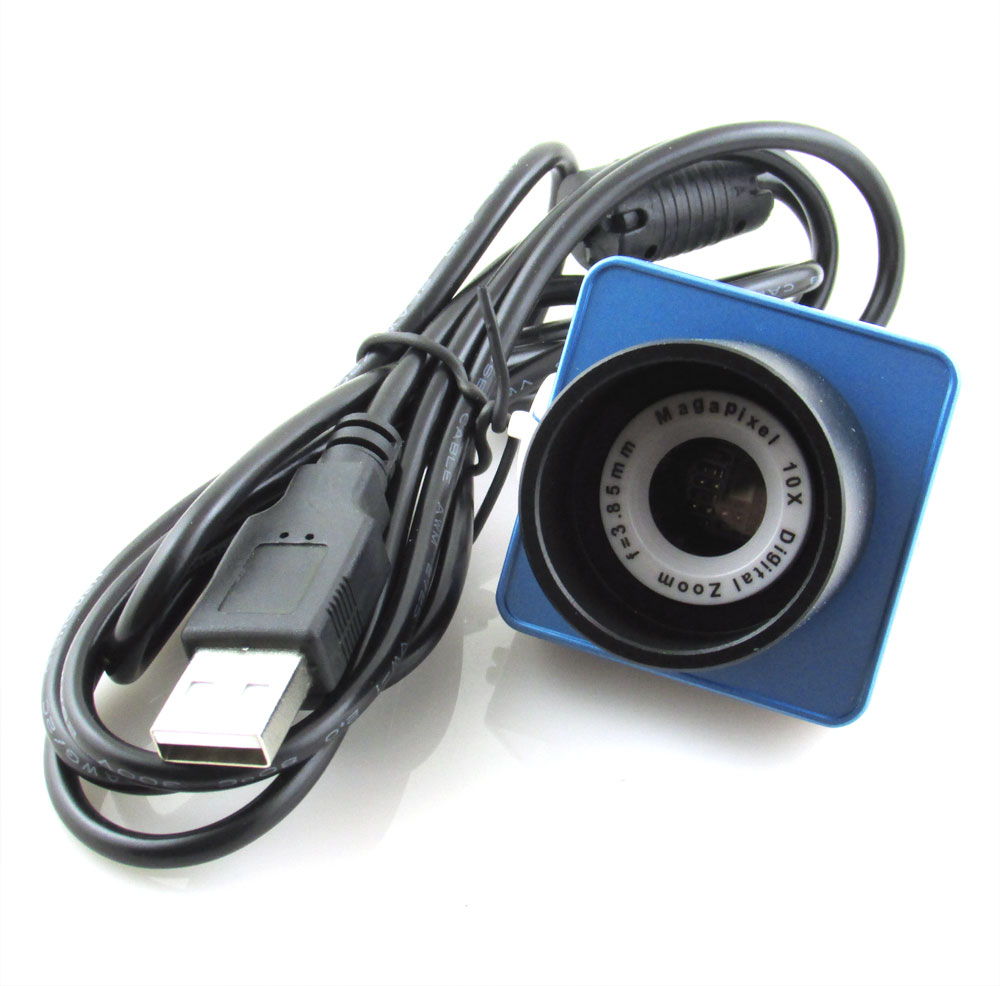
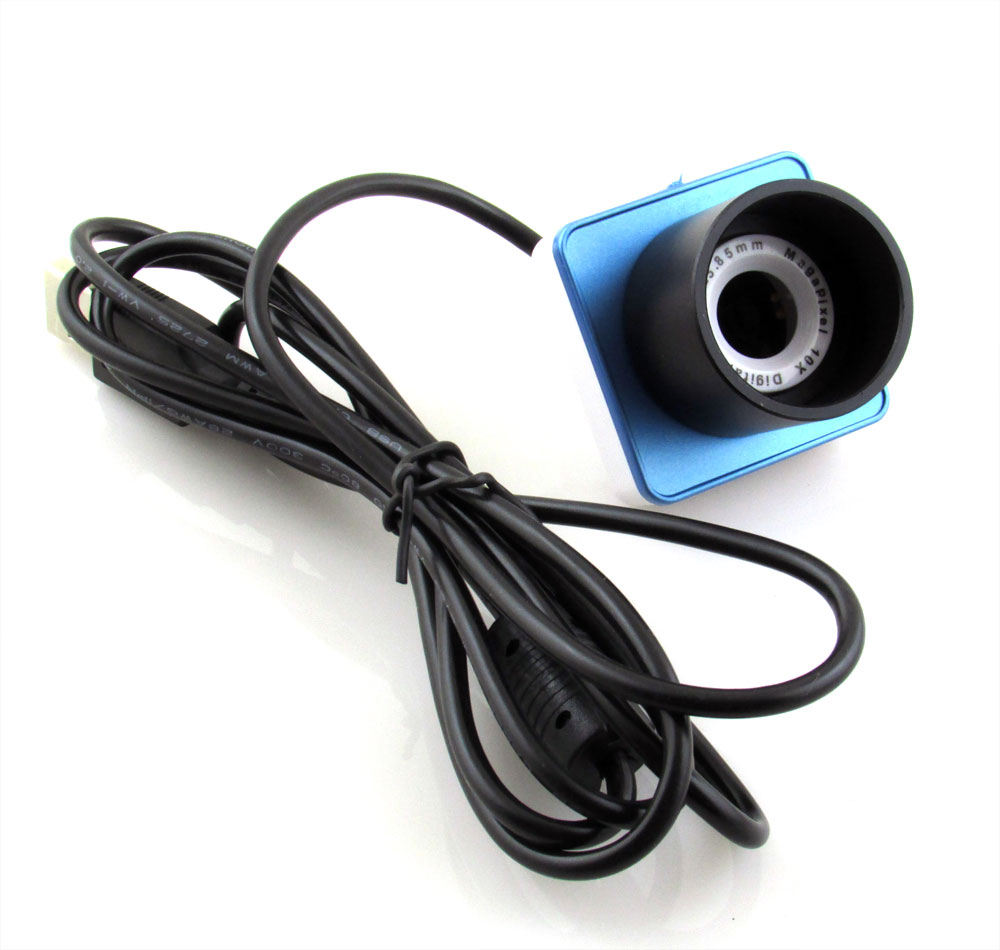
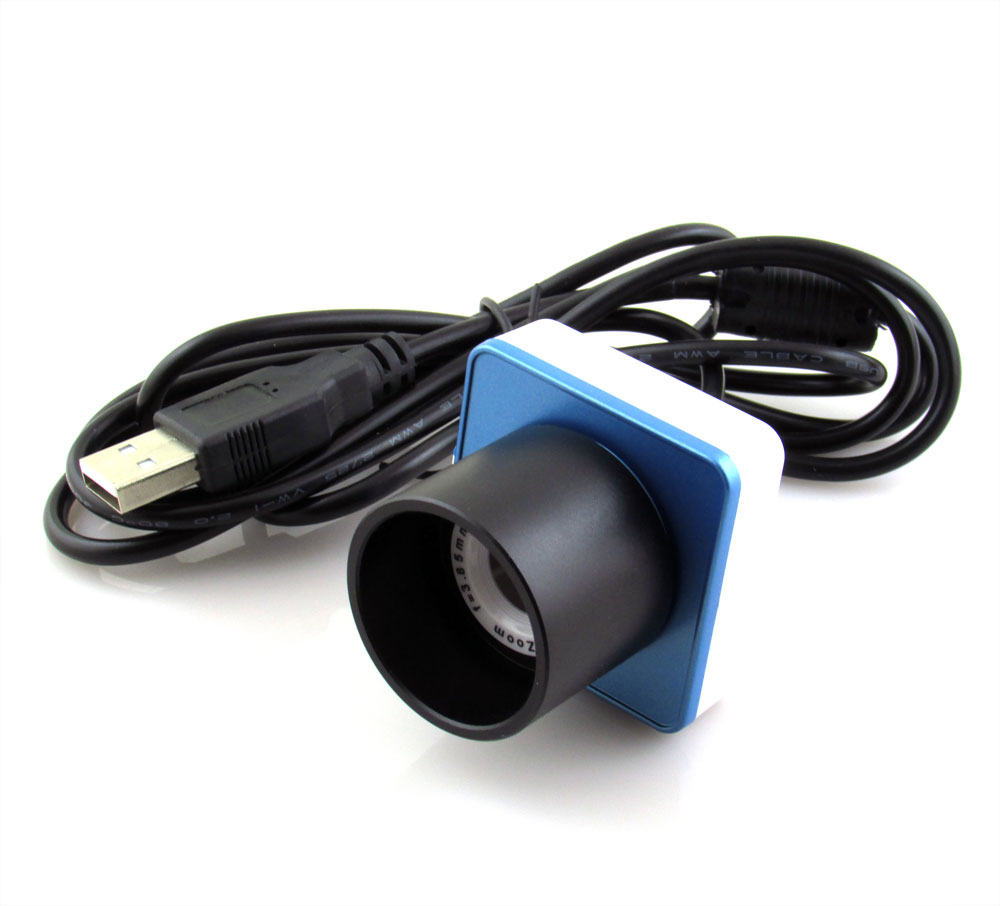
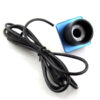
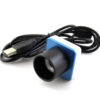
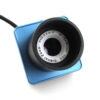
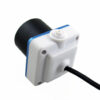
USB Digital Lens Electronic Eyepiece Astronomical Telescope Camera Connecting A Computer Display 30W Pixels 1.25″(31.7mm)
In stock
$18.29 $22.49
In stock
USB Digital Lens Electronic Eyepiece Astronomical Telescope Camera Connecting A Computer Display 30W Pixels 1.25″(31.7mm)
Product Information:
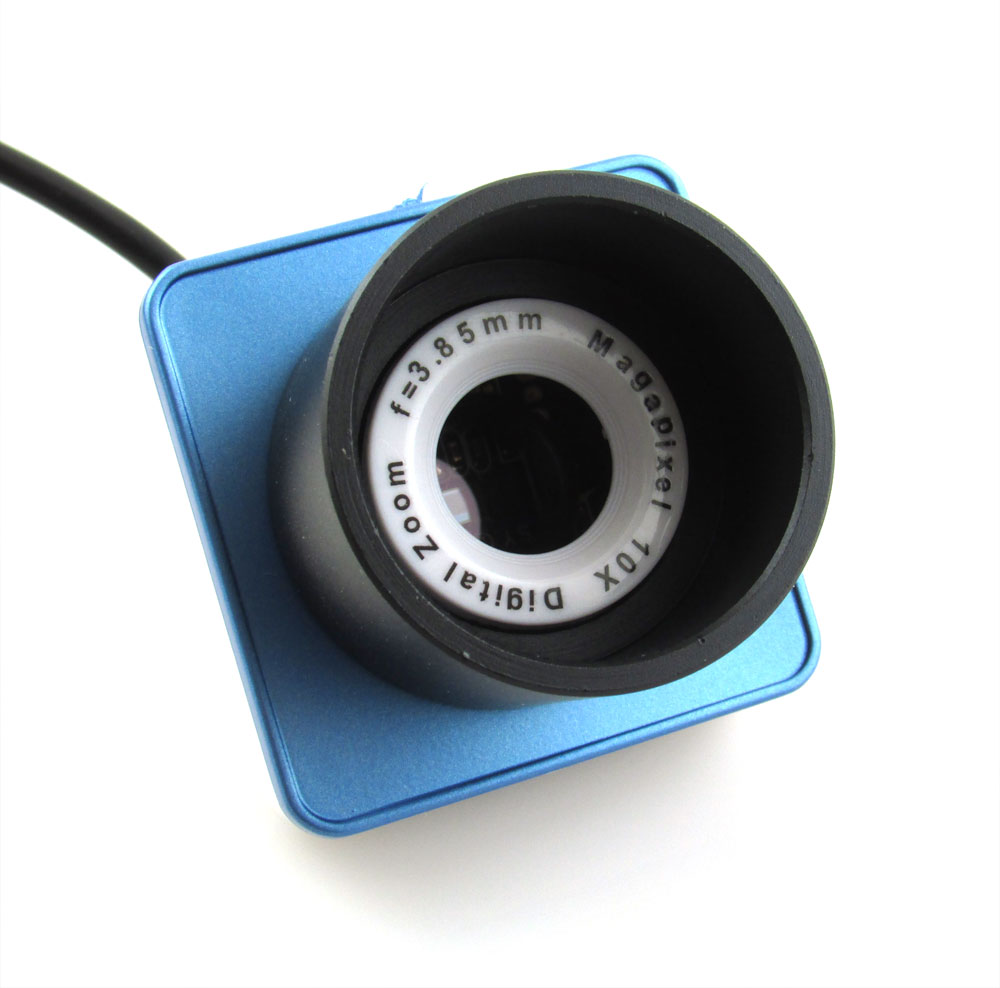
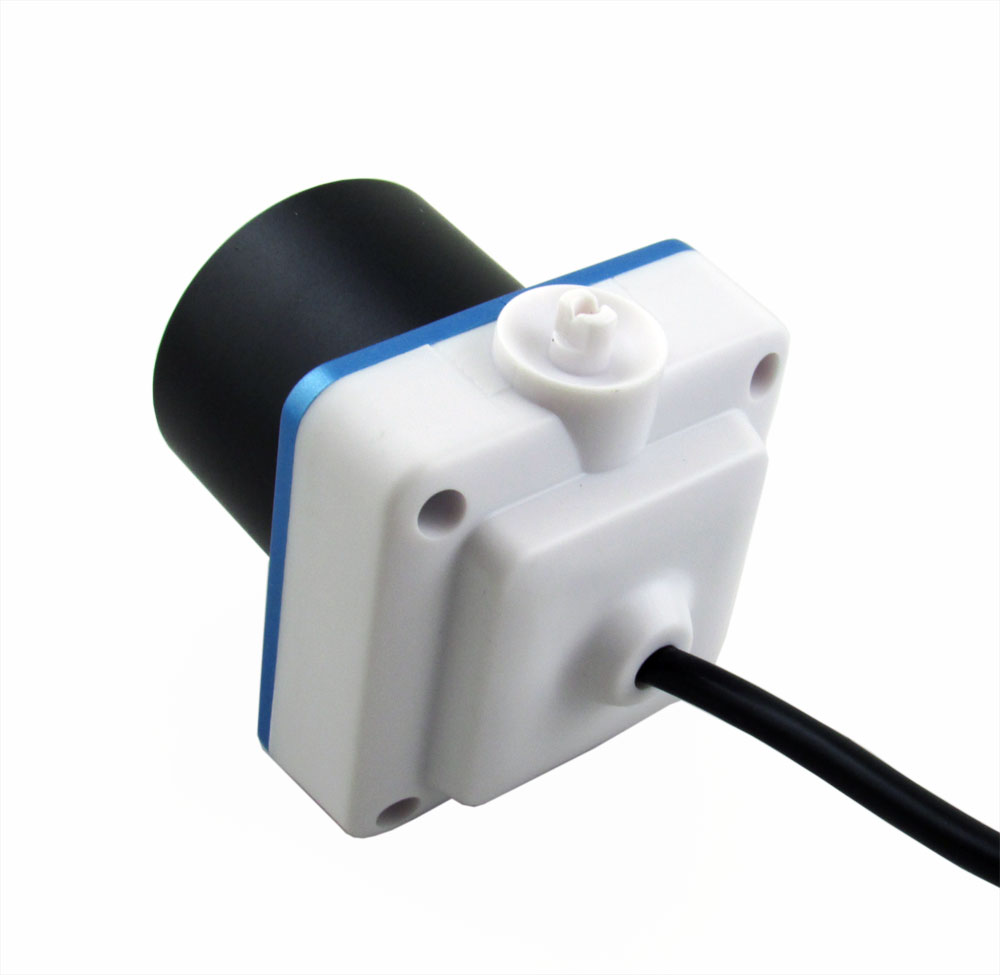
This digital eyepiece/camera can be fitted to telescopes with 1.25″ (31.75mm) eyepiece holder/focuser. It can change images into digital signal and transfer it to your PC. It can also record video footage through the telescope and save the file into the computer.
System Requirement:
- Windows 2000 / XP / VISTA / Win7/Win 8
- Pentium III 400 MHz or higher
- 100 Mb free hard drive space or more
- 256 Mb RAM or higher
- 16-bit color display
- USB connection
Introduction to system functions
This digital eyepiece utilizes the new CMOS technology which provides the capability of integrating image sensing and digital signal processing on the same chip, resulting faster, smaller, less expensive, lower power consumption, and high-quality image sensing system. This device has automatic light/color control functions such as light exposure, image gain, and white balance. Image quality (eg. brightness, contrast, gamma, hue, saturation and sharpness) can be adjusted to your preference, and images can be captured and saved into computer in BMP or JPG format. The video recording function provides continuous distant monitoring capability through telescopes, and still images can also be captured from video footage.
How to adjust image quality on computer screen?
4.1 Connect the digital eyepiece to your telescope and to the computer. On your computer, choose Start > All programs > PC Camera > AMCAP. This will open a window frame to show what you would see through the telescope. Aim the scope at a target and adjust the telescopes focus wheel until the image becomes clear.
4.2 From the AMCAP program, go to Options then Video capture filter, and select Outdoor. Adjust image quality such as brightness, contrast, gamma, hue, saturation and sharpness to your preference.
4.3 From Options, select Video capture pin, set Output Size to 640×480 (this is for better video display on your PC screen).
Note: If you have difficulty getting the image into focus through the scopes focus wheel, you can turn the front part of the digital eyepiece (close to the small lens) slightly. This will adjust the distance between the small lens and the light sensor on the chip, which will aid the focus adjustment with the scopes focusing system. This method is not recommended unless it is necessary. Once the digital lens position is properly set, it should be kept the same for future use with the same telescope.
How to take digital pictures through the scope?
5.1 Open up My Computer and select USB Video Device (file type: digital camera) when the device is attached. You can see the live preview of what can be seen through the eyepiece. Please note that it will not show the live preview (with an error and blank screen) if another program is already running that is using the eyepieces input feed (eg. AMCAP, or another Windows Explorer that has loaded the camera) at the same time.
5.2 Aim the scope at a distant target and adjust the focus wheel of the scope until the image becomes clear.
5.3 You can turn the digital eyepiece within the eyepiece holder of the telescope to adjust the image orientation on the computer screen.
5.4 Under Camera Tasks of the left screen pane, click Take a new picture. The image of the current scene will be captured and saved as an image file. The captured photos are then listed on the screen and you can move them to another location and rename the files as you wish.
5.5 Alternatively, if you have installed the camera application program Vp_eye3.0, you can also take digital pictures (and video recordings) using this program.
Specifications
- Sensor: CMOS 1/3 (VGA)
- Computer interface:USB
- Telescope interface:1.25″ (31.75mm)
- PC power:USB
System support: Windows98, ME, 2000, XP, VISTA, WIN7
Note:
A Moon filter will be needed if you want to take pictures of the Moon using this digital camera. You can also add a Barlow lens to increase the overall image magnification


Based on 13 reviews
Add a review
General Inquiries
There are no inquiries yet.
V****s V. –
Good quality, all the stars.
V****s V. –
C*d T. –
Buen producto aunque sencillo muy potente
C*d T. –
S*****o A. –
The shipment was very fast. The quality of the image is bad and difficult to focus on.
S*****o A. –
V******r B. –
товар соответствует описанию пришел быстро упаковон хорошо, я доволен продавцу спасибо, рекомендую
V******r B. –
O***r B. –
todo ok
O***r B. –
G******y S. –
камера пришла за неделю в Верь (Россия)! Камера рабочая – за свои деньги снимает хорошо. Доволен.
G******y S. –
M*****o T. –
CHRGOU RAPIDO PRODUTO COMO DESCRITO
M*****o T. –
Customer –
excellent service thanks
Customer –
F*****s B. –
pas encore essayé
F*****s B. –
B***e B. –
very fast delivery, came in perfect state, recommend this for everyone. Connected to laptop, works just fine, haven’t had the opportunity to try it on my telescope due to cloudy weather… but it fits perfectly (could try that at least)
B***e B. –
K*******f Z. –
I’m very satisfied, high quality product and good store 🙂 I really recommend. Thank you and greetings from Poland 🙂
K*******f Z. –
N*******l R. –
30w Pixels 1.25 electronic eyepiece. Couldn’t be happier. Was skeptical that a camera costing $10.00 dollars would be any good. This camera is AWESOME for the price. Hope Ill be able to edit this review later when I can download the video that I took of the moon. Cant say enough about this camera.
N*******l R. –
F*******o P. –
Para el precio esta bastante bien. Recomiendo ampliamente.
F*******o P. –